Tutorials, Tips & Tricks

Vue Render Quality and Speed Tips last edit may 9th 2009
Quality rendering stills is probably one of the most processor intensive and time consuming tasks in 3D rendering, and Vue is no exception. Moreover as soon as you start the render you are out of control and have to wait until it’s finished before you can judge whether the quality is sufficient or even to high (cost efficient) for it’s purpose. My renders are usually not 100% perfect after the first render. Quite often I need to repair bits and pieces and than slice them together in Photoshop. It can take a few hours or a few days of rendering until I’m satisfied with the result. Sometimes I start a render at night to find out in the morning it has only 1% done..... Obviously I will then abort the render and rethink my settings.
The trick is to find the right balance between quality and the time you want to spent on rendering. Both criteria are subjective and so it is up to you to decide what is right. My intention here is to give you some ideas and tricks I use to determine quality versus render time.
-
1.Welding and Grouping
When you are finished setting up your scene it might consist of hundreds or even thousands of objects. Each object can be one mesh or it can be made up out of several meshes grouped together.As you can see here the buildings are made up of a lot of separate parts. Since Vue will calculate light for each and every part separately this is not a very efficient set-up. What we can do here is weld everything together. First save a copy of your scene so you can revert in case you don’t like it.Select the group (or subgroups first) and click on the “Edit object” button and choose weld. You will not loose any mesh quality but you will loose the ability to move the separate parts as they were. Do the same for any other suitable objects. In this case the render time was reduced from 62 seconds to 20 seconds, a reduction of 66% on render time. -
2.Automatic scene hierarchy (Vue 6.5)
Before you start rendering do a (preview quality) rendering in the Main Camera View. Note the time it took to render. Go to the render settings and switch on or off “Use automatic scene hierarchy” and render again. Use the setting that was fastest to render.
This function has improved considerably in Vue 7 and I would leave it on at all times now. -
3.Scale render
One thing I do when I plan to render a high resolution picture (up to 6000 x 4000 pixels) is rendering a full quality picture in a one hundredth scale (600 x 400 pixels). This will give me an idea whether the final render will take a few hours, one day or over a week to complete. If it took 15 minutes to render the scale version it will probably take a full day to render the final picture. If you don’t like the outcome, tweak your quality and render settings. -
4.Quality settings
A lot of the settings that determine quality versus speed you will not find in the render settings tab, but are spread out through the program’s interface. So here is a checklist to follow:
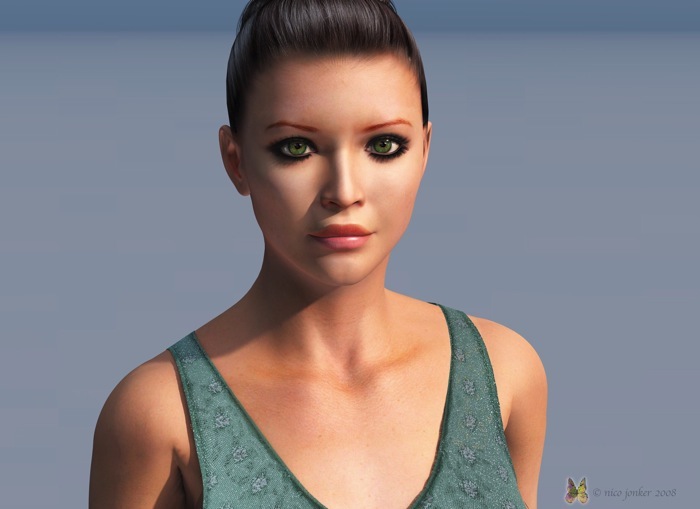
1. Light (Shadow) Softness.In the picture on the right the softness was set to 4 degrees. Shadows close to the object casting it will become hard edged, shadows further away will become softer.
To get smooth, grain-less shadows you might want to ramp up the shadow “Softness quality” in the light’s properties settings. This will increase the render time.
To save some render time you can choose to have soft shadows for objects close to the camera, but not the ones in the background. Create two suns or lights at the same spot with the same settings, one soft, one normal and use the “Influence” settings of the lights to set which objects will have soft shadows and which won’t. Take care to use only one of the lights for an object, not both, or you will have double exposed objects in your render.
If you want soft shadows but they don’t have to be very accurate then consider using soft shadow maps instead.
3. Atmosphere and Lighting models
There are four “Atmosphere models” and also four “Lighting models”.
The Standard Atmosphere model is the least realistic but it is the fastest to render. So if you don’t need a realistic atmosphere you could use this model to speed up rendering. For instance a scene inside a building, at night time or an alien world would be well suited for this atmosphere.
The Volumetric Atmosphere is more realistic but slower to render than the Standard atmosphere but it renders faster than the Spectral Atmosphere. Regard it as an in between model. According to the manual this atmosphere is well suited for animation as it is a good compromise between quality and render speed.
The Spectral Atmosphere is the most realistic in mimicking Earth’s atmosphere and with that it also takes the longest to render.
The Environmental Atmosphere uses a 96 bit HDRI bitmap to illuminate the scene. The 96 bit range can contain a much higher dynamic range in exposure than standard 24 bits images which makes it suitable for lighting 3D scenes. If in a movie 3D animation will be combined with live action quite often there will be a photographer on the set taking HDRI pictures for the purpose of matching light later on.
With each Atmosphere model there are four Lighting Models.The standard lighting model is the fastest to render, with each next light model it will take more time to render then the previous one but will also become more realistic.
4. Ambiance quality boost
This slider is only available when you are not using the “Standard” lighting model and takes care of the graininess in the ambient bits. Only visible on nearby details (ambient shadows). This slider can be easily set to -1.0 on most stills.
Ambiance Quality Boost -1.0
Ambiance Quality Boost +1.0
5. Sky, Fog and Haze
The Quality boost slider at the bottom of the window is similar to the ones discussed before and takes care of the quality (graininess) of fog and haze. -
5.Render Settings
1. Render Pre-sets
Do not use the render pre-sets! Instead read this document as a starting guide and create your own pre-sets. Vue lets you save as many pre-sets as you wish, so start experimenting!
2. File Format
Choose an uncompressed file format for your output unless you have no bitmap editing program whatsoever. I.e. use .bmp, .tiff, .png, .psd or targa as your output format. It is really a waist to throw away quality straight away after spending so much time on rendering your piece of art.
If you are rendering an animation and have a video editing program that can handle bitmap sequences, you should also use an uncompressed bitmap format. Why?
- Better quality
- Vue generates temporary preview files in the format you specified, so you can:
- Check from frame one that there are no errors in the rendering
- Use media players like Quicktime or MPEG Streamclip (free) to preview your animation while rendering advances. From QuickTime choose Open sequence image and browse to the preview temp files.
3. Render Quality
- If you click on “Edit” next to the sub-ray settings, you can change the trace and internal reflections settings. Internal Reflections means: How often a ray should bounce forwards and backwards between two reflecting surfaces before stopping. For speeding up animation renderings you could try lowering the value to 2 or even one. Especially when there is a lot of water or other reflecting materials in your scene.
4. Super Sampling
Here you can choose to not use certain effects that are only visible in close-up details and thus save time in rendering.
5. Optimize
There are a few settings that start with Optimize: Optimize volumetric lights, Optimize last render pass and Optimize indirect lighting on plants (under the advanced effects quality settings). Optimize in Vue terms means faster render, but with a slightly less quality.
6. Ignore indirect lighting on plants.
Ignores the calculation of indirect (bounced) light on plants. Can be used when plants are fairly far away and will save render time. It is also possible to switch it off per material in the advanced material editor.
7. Advanced effects slider
Takes care of the global quality of soft shadows, volumetric lights, ambient light, etc. Functions as a master slider for the other quality boost slider throughout the program’s interface. 45% is a good starting point, ramp it up when you see too much noise or other artifacts in your render.
8. Anti Aliasing
There are three quality sliders here: Minimum, maximum and quality threshold. Subrays are used to try to reach the antialiasing quality as set by the the quality threshold by using a minimum amount of sub-rays and a maximum amount of subrays. As soon as the quality has been reached no more sub-rays are used and the renderer will move on to the next pixel. -
6.Experiment!!!!
The best way to get the results you want is to experiment. There is no pre-set or general setting that works for all scenes. It highly depends on what is used in the scene, objects and materials, and the purpose of the render.
Happy rendering! :-)
InsertCommentsHere
woensdag 2 juli 2008